Manage staff & authorization groups
This guide shows you how to create new staff and how to control what users are allowed to do in Backoffice and POS via authorization groups.
1. Create a new employee
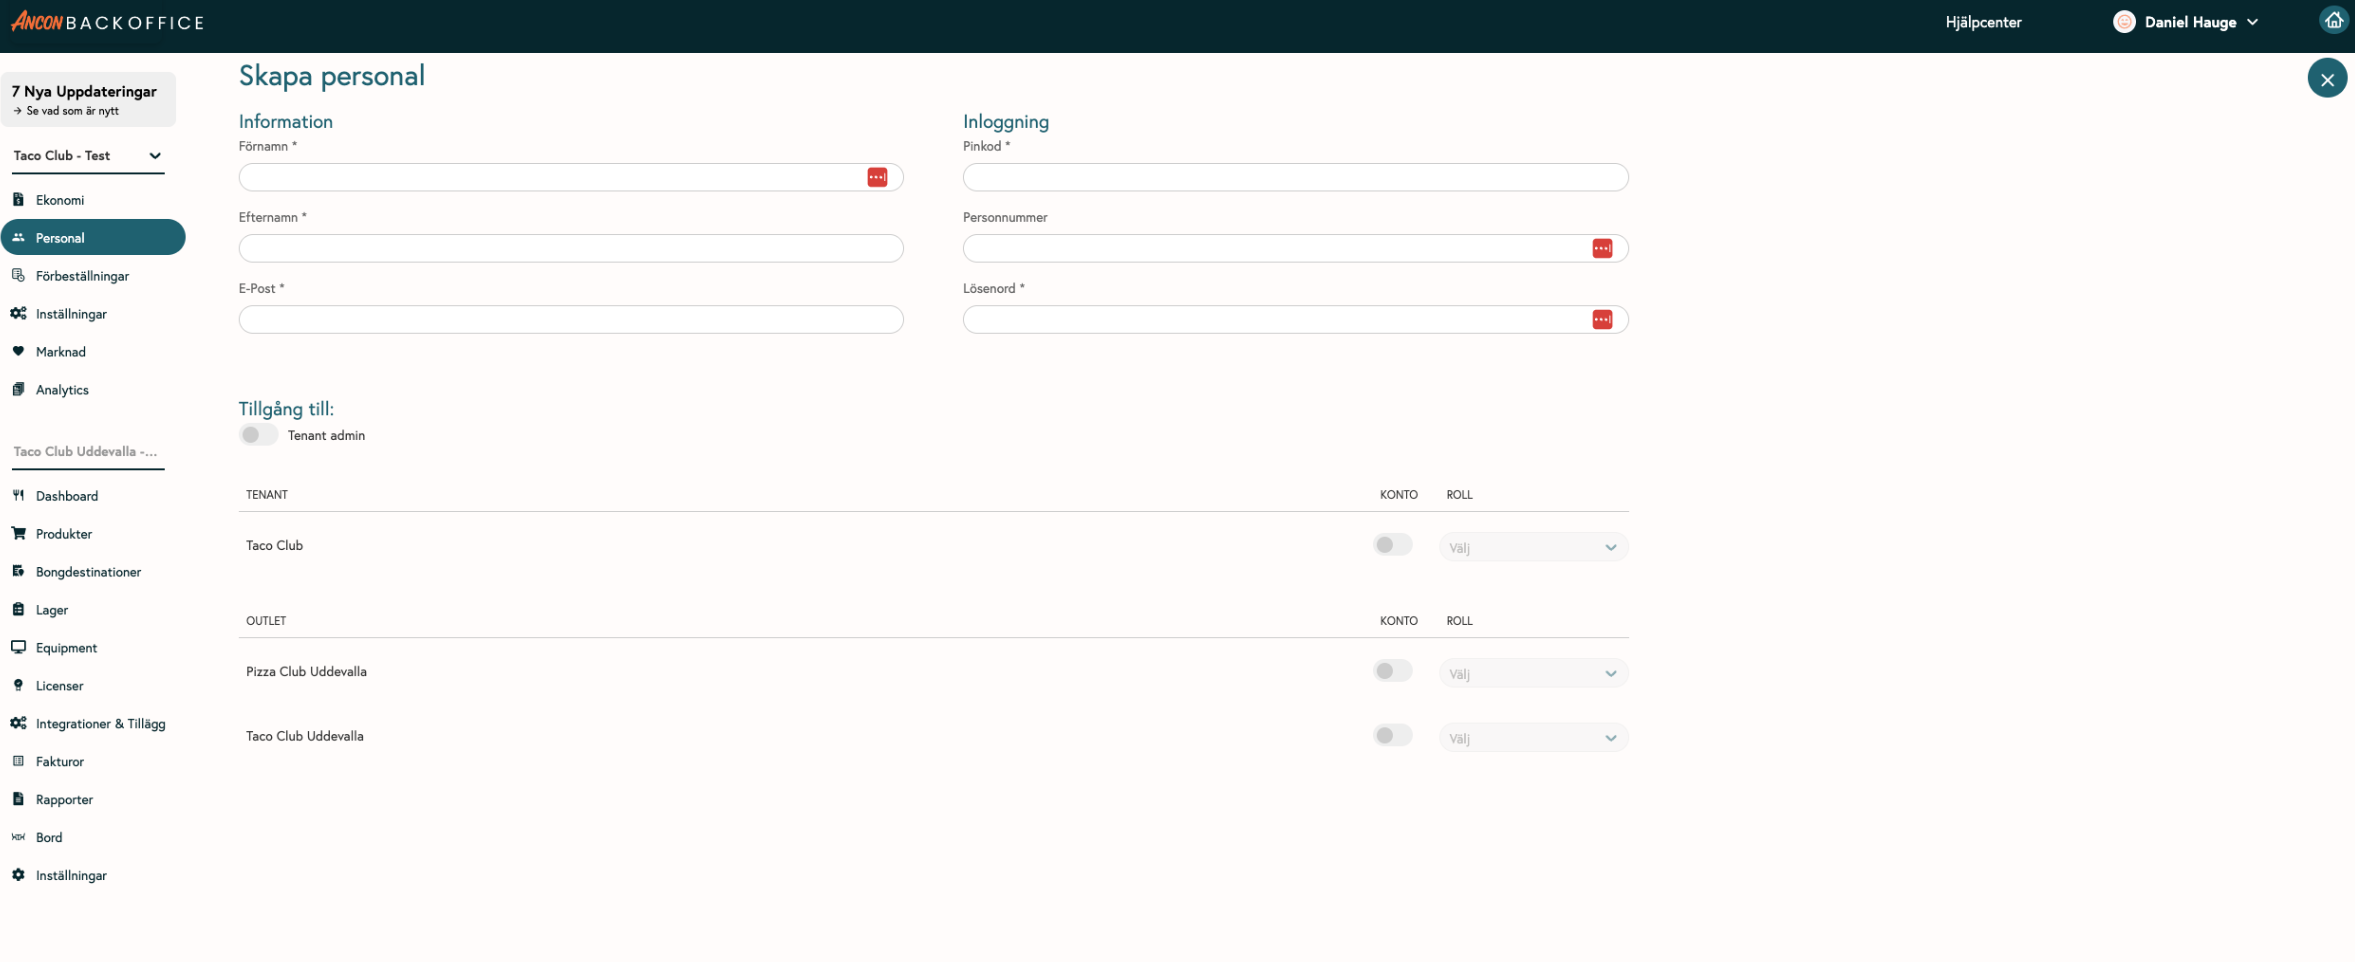
Go to Staff.
Click Create New.
You will be taken to the Create Employee page.
Enter user information and login details.
Select access type:
Tenant admin (full admin)
Unique permissions per tenant/outlet.
Fields marked with "
*" are required and must be filled in to save the user.
2. Permissions
When should you use permission groups?
When different roles require different access (e.g., admin, manager, staff)
When you want to restrict access to sensitive areas (settings, user management, finance, products)
Go to Staff -> Permission Groups
Create New
Select whether the permission should apply at the tenant level or outlet level

Step 2: Understand the difference between user types
Tenant user
A tenant user belongs to the entire organization (tenant), not to a specific outlet.
What it is used for
Can work across multiple outlets within the same tenant (depending on permissions)
Can manage tenant-level items, such as products, staff, and analytics.
2a. Select tenant-level access
You can either grant broad access (e.g., “All Tenants”) or enable individual permissions.
Examples of tenant permissions:
Analytics
Manage permission groups
Manage accounting
Manage staff
Manage pricing templates
Create a product
Edit/Delete products
Move Adyen entities
Tip: Start with the minimum necessary permissions and expand as needed.
2b. Outlet user
An outlet user is linked to a specific outlet within a tenant.
Typical roles
POS staff
Local admin/manager of an outlet
Primarily used for POS, limited access to the back office at the outlet level
Select access at the outlet level
If the user is assigned to an outlet on the Create Staff page, they will have access to the outlet(s) you select.
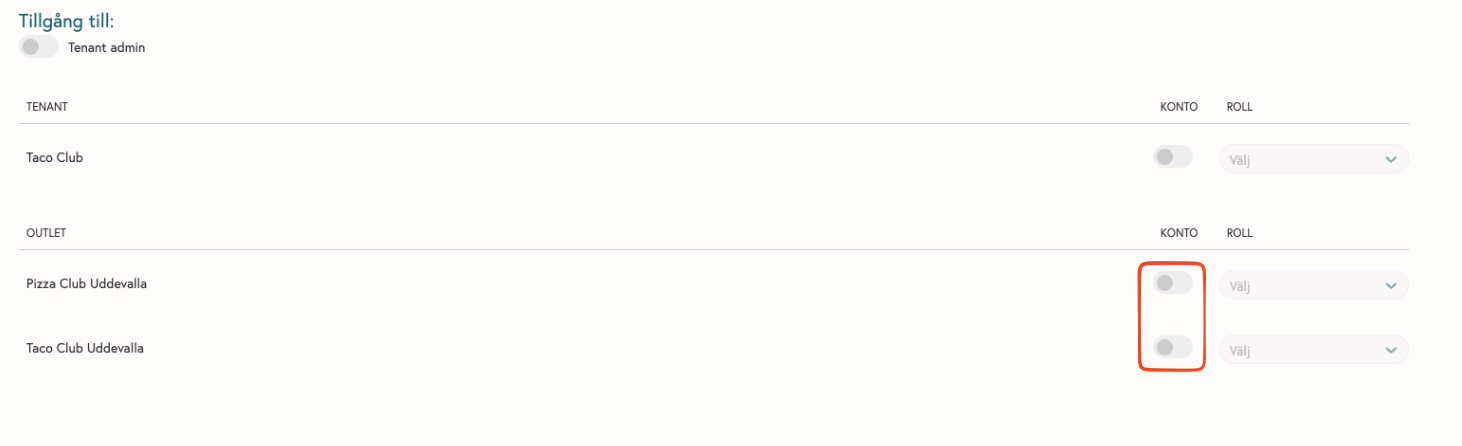
At the outlet, permissions are divided into several sections:
Admin (outlet)
Example:
Analytics
Manage Accounting
Manage pre-orders
Manage inventory
Manage terminals
Can retrieve X-reports
Can publish Z-reports
Can manage tables
Can manage integrations
POS
Example:
Apply a discount
Show open price
Can split the bill
Refund / Reimburse bills
Print receipt copy
Manage POS settings
Manage gift cards / wallets
Open cash drawer
Express
Example:
All permissions for Express
Manage Express settings
Can view Express settings
KDS
Example:
All KDS
Manage KDS settings
Can view KDS settings
Step 3: Create or update permission group
Create a new group or open an existing one
Name the group clearly (example:
Rapport - Läsbehörighet)Select exactly what the group should be allowed to do

Examples of permissions:

Step 4: Assign staff to the correct permission group
Go to Staff
Open the person you want to assign a permission to
Assign an access group
The same person can have different permissions in different outlets
(e.g., strong permissions in Outlet 1 and weaker permissions in Outlet 2).
Was this helpful?
Still need help? Share an idea